How to Add Subtitles and Captions in Office 365 Video
With Office 365 Video you can easily share and discover videos within your company – and you can easily add captions and subtitles, too! Captions or subtitles can be added to any video in an Office 365 Video channel by uploading one or multiple subtitle or caption files. Just follow these steps to get text on-screen for your viewers to see next time they watch your video. If you have already downloaded and saved your subtitle or caption files, begin by following the steps below to open Office 365. If you have not downloaded your files, follow these few steps first: To Download Caption or Subtitle Files
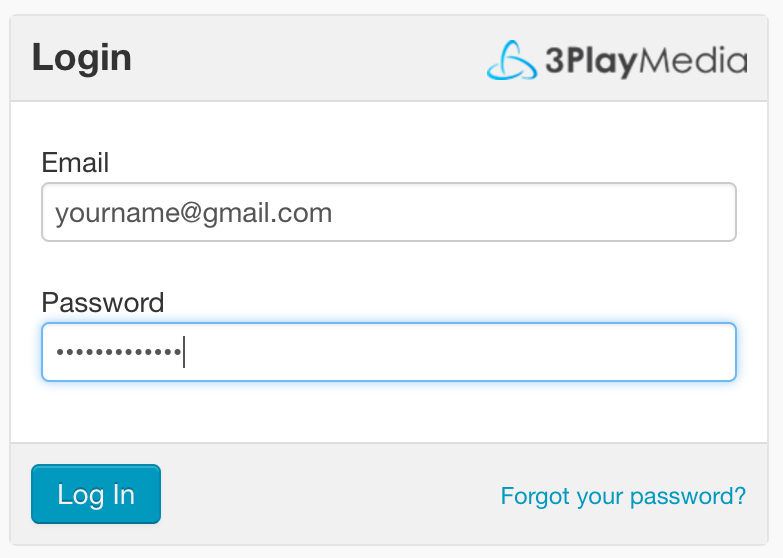
- Login to your 3Play Media Account.
- From the My Files page, click on the name of the file you want captions or subtitles for.
 Select Download.
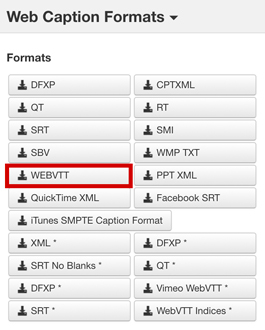
- Click on the type of file you would like to obtain. In this case, select WebVTT from the Web Caption Formats section.
 Continue...
Open Office 365

- Sign in to Office 365 by visiting www.office.com/signin and logging in to your account. *Please note that you must be a user with admin permission in Office 365 Video in order to sign in.
- Once you're logged in, select the app launcher icon from the top of the screen.
Navigate to the Video Portal
- Click on the Video icon to open the Office 365 Video portal.
Open the Channels Page
- On the Office 365 Video navigation bar, choose Channels.
- Choose a channel that you own or have permission to edit.
- On the Channel page, select the video for which you want to add subtitles or captions.
Upload Subtitles or Captions
- On the Video page, select Manage and then select Subtitles or captions
- In the Subtitles or captions pane, select Upload a new file.

- In the Upload a file window, select the correct language of your subtitles or captions and click Upload.
- Find and select the subtitle or caption file you want to upload, then click Open. The subtitle or captions file will be uploaded.
__
Get started captioning and subtitling today so your viewers will benefit, too!

