YouTube Integration Setup 🔧
Follow these steps to link your YouTube account to a 3Play Media project to then create Live Auto Captions for YouTube live streams.
Before linking a 3Play Media account to a YouTube channel, it’s best practice to sign out of all Google and YouTube pages first.
➡️ Step 1: Navigate to New Linked Account
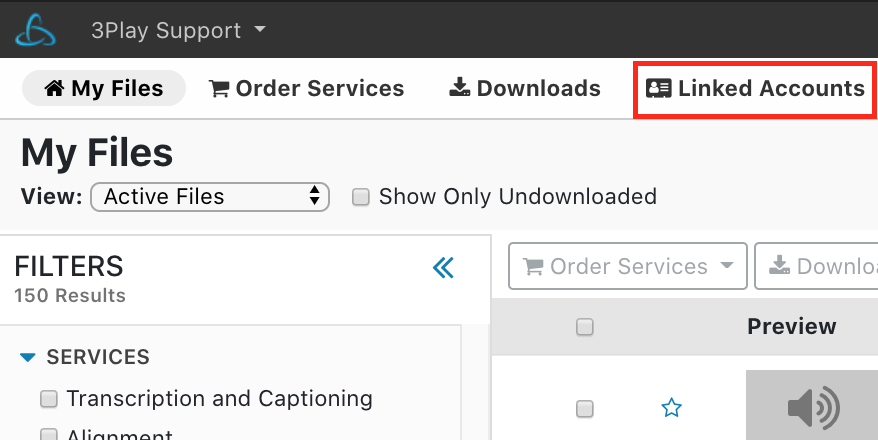
From the My Files page, click Upload. By default, you’ll be directed to Upload > From Computer. Hover your cursor over Linked Account. From the drop-down menu that appears, click New Linked Account.
➡️ Step 2: Select YouTube
Click the YouTube icon from the list of video platforms and lecture capture systems. Once YouTube is selected, you’ll be redirected to a Google sign-in page.
➡️ Step 3: Sign in to Google
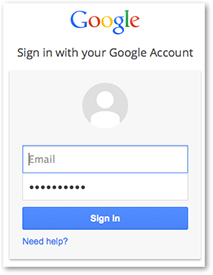
Enter the email address and password associated with your YouTube account.
Note: if you were already signed into Google or YouTube, the channels associated with your credentials will display automatically.
➡️ Step 4: Select a YouTube Channel
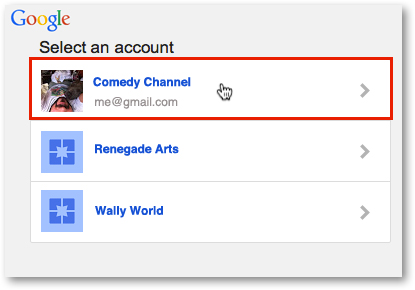
After signing into Google, the YouTube channels associated with your credentials will display. Select the channel you want to link to your 3Play Media account.
➡️ Step 5: Click Arrow
Click Allow to enable the link between your 3Play Media account and your YouTube channel.
After clicking Allow, you’ll be redirected back to the 3Play Media integration settings page. A message will display that, “you have successfully linked your YouTube account!“
➡️ Step 6: Enable Postback Captions
On the integration settings page, set Postback Captions to On to have the captions automatically associated with the YouTube videos upon completion of the transcription process.
If you intend to link multiple YouTube channels to your 3Play Media account, you may want to nickname the integration to easily identify from other integrations.
Click Update once you’ve completed this process.
➡️ Return to Full YouTube Live Auto Captioning How-To Guides
Ensure your YouTube live streams are accessible to all viewers!


